You’ve finally invested in your skin and self-care routine and decided to try IPL hair removal – so exciting! But you’re not exactly sure how to begin. Before you get started zapping your way to hair-free confidence, it’s important to know that a little prep goes a long way.
Prepping your skin properly before each treatment not only makes IPL more effective but also helps protect your skin and gets you the long-lasting results you’re after, faster.
Whether you’re new to IPL or already in your self-care era, this guide walks you through the best way to prep your skin before each session. Because when it comes to long-lasting, hair-free skin, consistency and proper prep is key.
Step 1: Patch test
Before diving into your first full treatment, you’ll want to do a patch test on your skin – especially if it’s your first time using IPL. This quick step ensures your skin reacts well to the light and helps you avoid any unexpected sensitivity.
- Choose a small area of skin in the treatment zone
- Shave the area first so the device can target the hair follicle properly
- Use the IPL device as instructed
- Wait 24 hours and monitor for any signs of irritation like redness, stinging, or discomfort
No reaction? Great – you're good to go!
Step 2: Shave the area
Locate the area(s) you want to stop hair growth like legs, armpits, chin, bikini area, and shave – don't wax or pluck. IPL targets the hair follicle, so the root needs to be intact.
Step 3: Cleanse and dry the skin
Make sure the area(s) your targeting are free from lotions, deodorants, fake tan, and any perfumes. Clean, dry skin ensures the light energy reaches the hair follicle without anything blocking it.
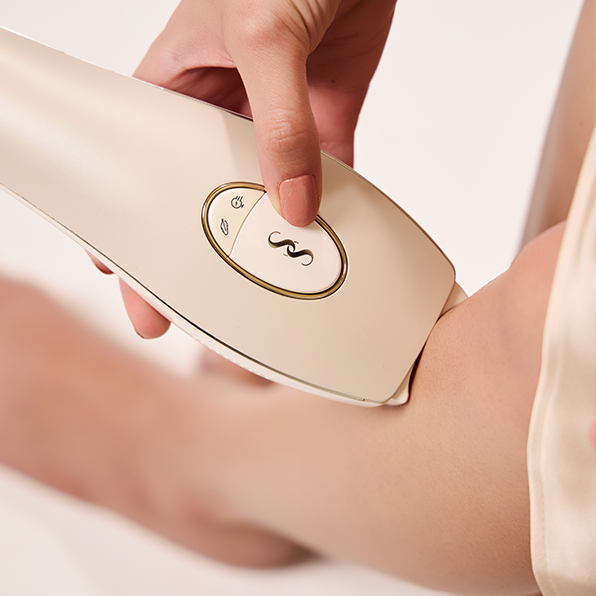
Step 4: Choose the right setting
If you’re using SmoothSkin’s Pure Adapt, choose among the different intensivity levels. If it is your first treatment, you might want to try the gentle mode until you get a feel for the warm, tingling sensation the flashes produce.
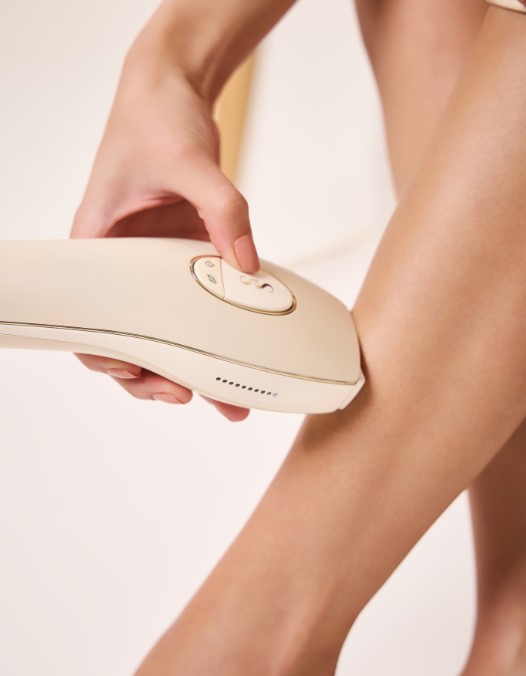
Step 5: Start your treatment
Place the device flat against the skin making full contact. Hold the button down to deliver a flash of light. Glide the device along the skin while holding the button down. Go slow – you'll get faster with practice!
Step 6: Avoid sun exposure and heat
After treatment, your skin might be slightly sensitive. Avoid tanning in the sun, hot showers, and sweaty workouts 24-48 hours after treatment. Always apply SPF.
Step 7: Stay consistent
The key to seeing amazing results with IPL is sticking to the schedule. It’s a 12-week treatment process with treatments once a week. You’ll notice smoother, hair-free skin with fewer ingrown hairs and less irritation over time. Track your treatments in your calendar so you don’t miss a week – it's the easiest way to stay on track and get that glow-up faster!
Starting your IPL journey might feel like a big step, but once you get the hang of it, it’s one of the easiest beauty upgrades you can make for yourself. With just a little prep and consistency, you’ll start seeing soft, smooth, stubble-free skin in no time.
Grab your SmoothSkin IPL hair removal device, follow these steps, and let the glow-up begin!


